|
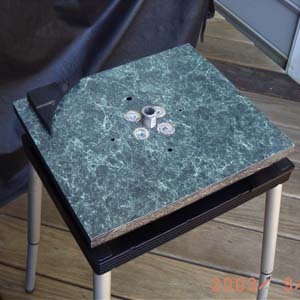
This is a picture of the top of
the azimuth
base. You can see the short pipe nipple which serves as the
rotational
axis of the azimuth box.
The four circles surrounding the pipe are recessed T-nuts. These hold the pipe flange in place on the bottom of the base. The black "triangle" in the upper left holds the index mark for the azimuth scale. |
|
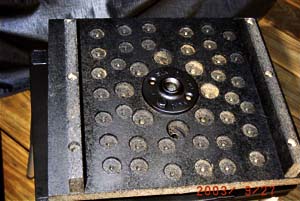
| Here is the bottom of the base. I've
painted it black and drilled a lot of holes to cut the weight down.
The pipe flange is attached with short machine screws and the T-nuts. The runners make sure the pipe flange clears the table top. They also straddle the handle inside the suitcase. |
|
|
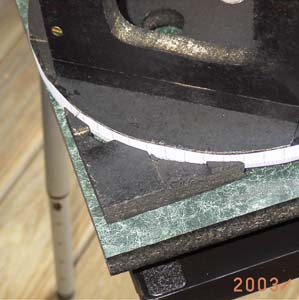
This shows the finished base with
the azimuth
box setting on top of it.
If you drill the hole in the bottom of the azimuth box the same diameter as the pipe flange you can just set the box on the base. Gravity and friction will give a smooth steady operation. |
|
|
This is a close up of the azimuth
marker.
It's just one of the left over corners from cutting out the azimuth
setting
circle.
I glued it place, plus a little help from the air nailer.
|
|
 |
|
|
|