|
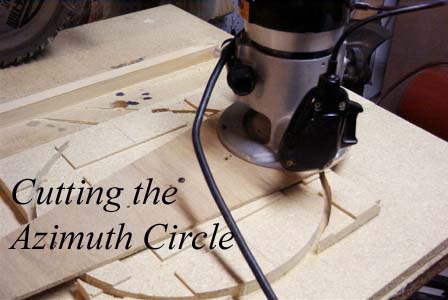
This pretty much shows the setup
for cutting the
azimuth Circle. The router is attached to a circle cutting guide
I made to
cut out the Pizza Tray.
I attached the square azimuth "circle" to a piece of scrap with the air nailer, clamped the scrap to the saw table, attached the router to the guide and then put a small wood screw through the guide into the center point of the azimuth "circle". This is a critical distance so get it as close as you can to the correct value. Turn the router on and cut out the circle. Save the corner pieces for later. |
 |
| So how do you add the scales? | Well, I used a program
written and copyrighted by Glenn Ashmore from Macon called Nth
Degree. Glenn was generous enough to give me permission to
include it on my site. Click here to
download it. This zipped file has both source code and
executable. You'll need a laser printer that understands HP Laser
Jet print codes. Not postscrip. I don't know about bubble
jet.
You tell the program the diameter and the number of degrees you want the scales to cover. |
 |
|
|
|